
A genuinely South African take on anything that makes my "eish"!
Monday, February 25, 2013
Homemade Bakers Twine


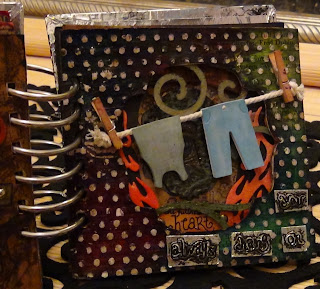
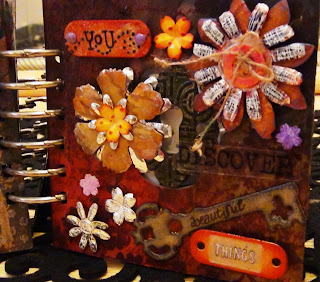
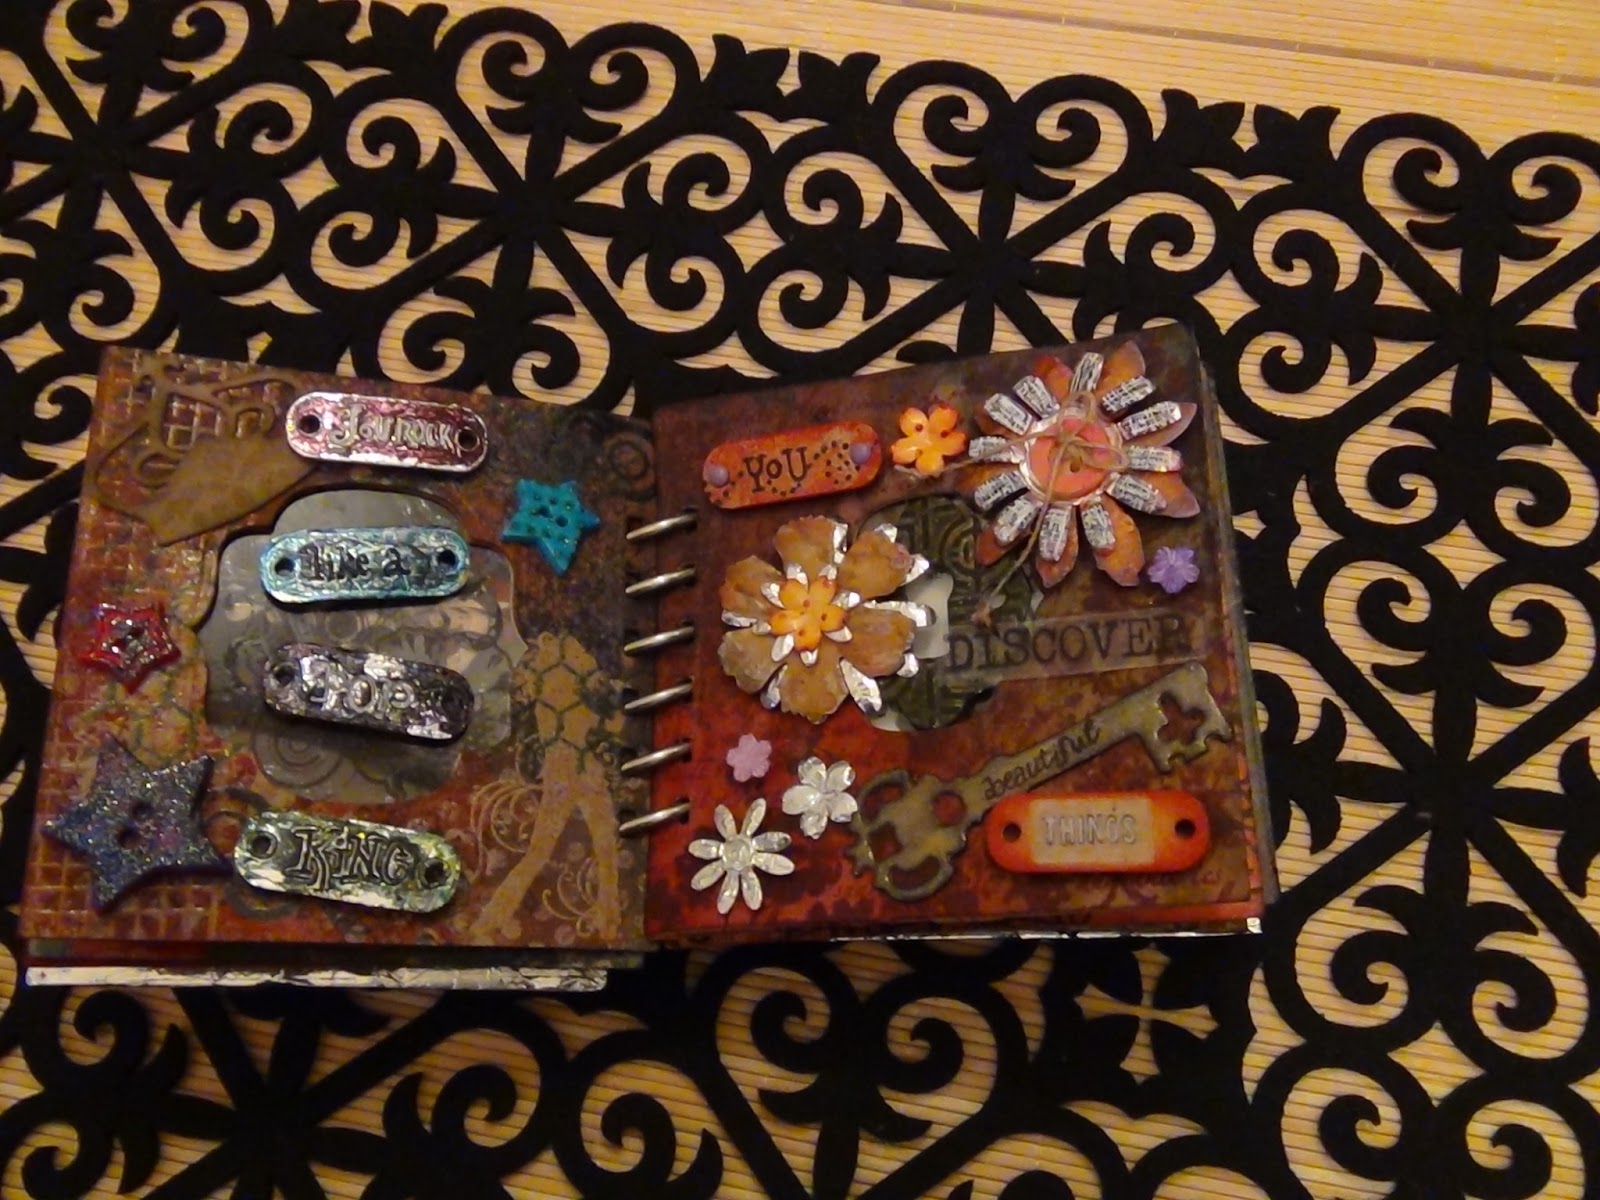
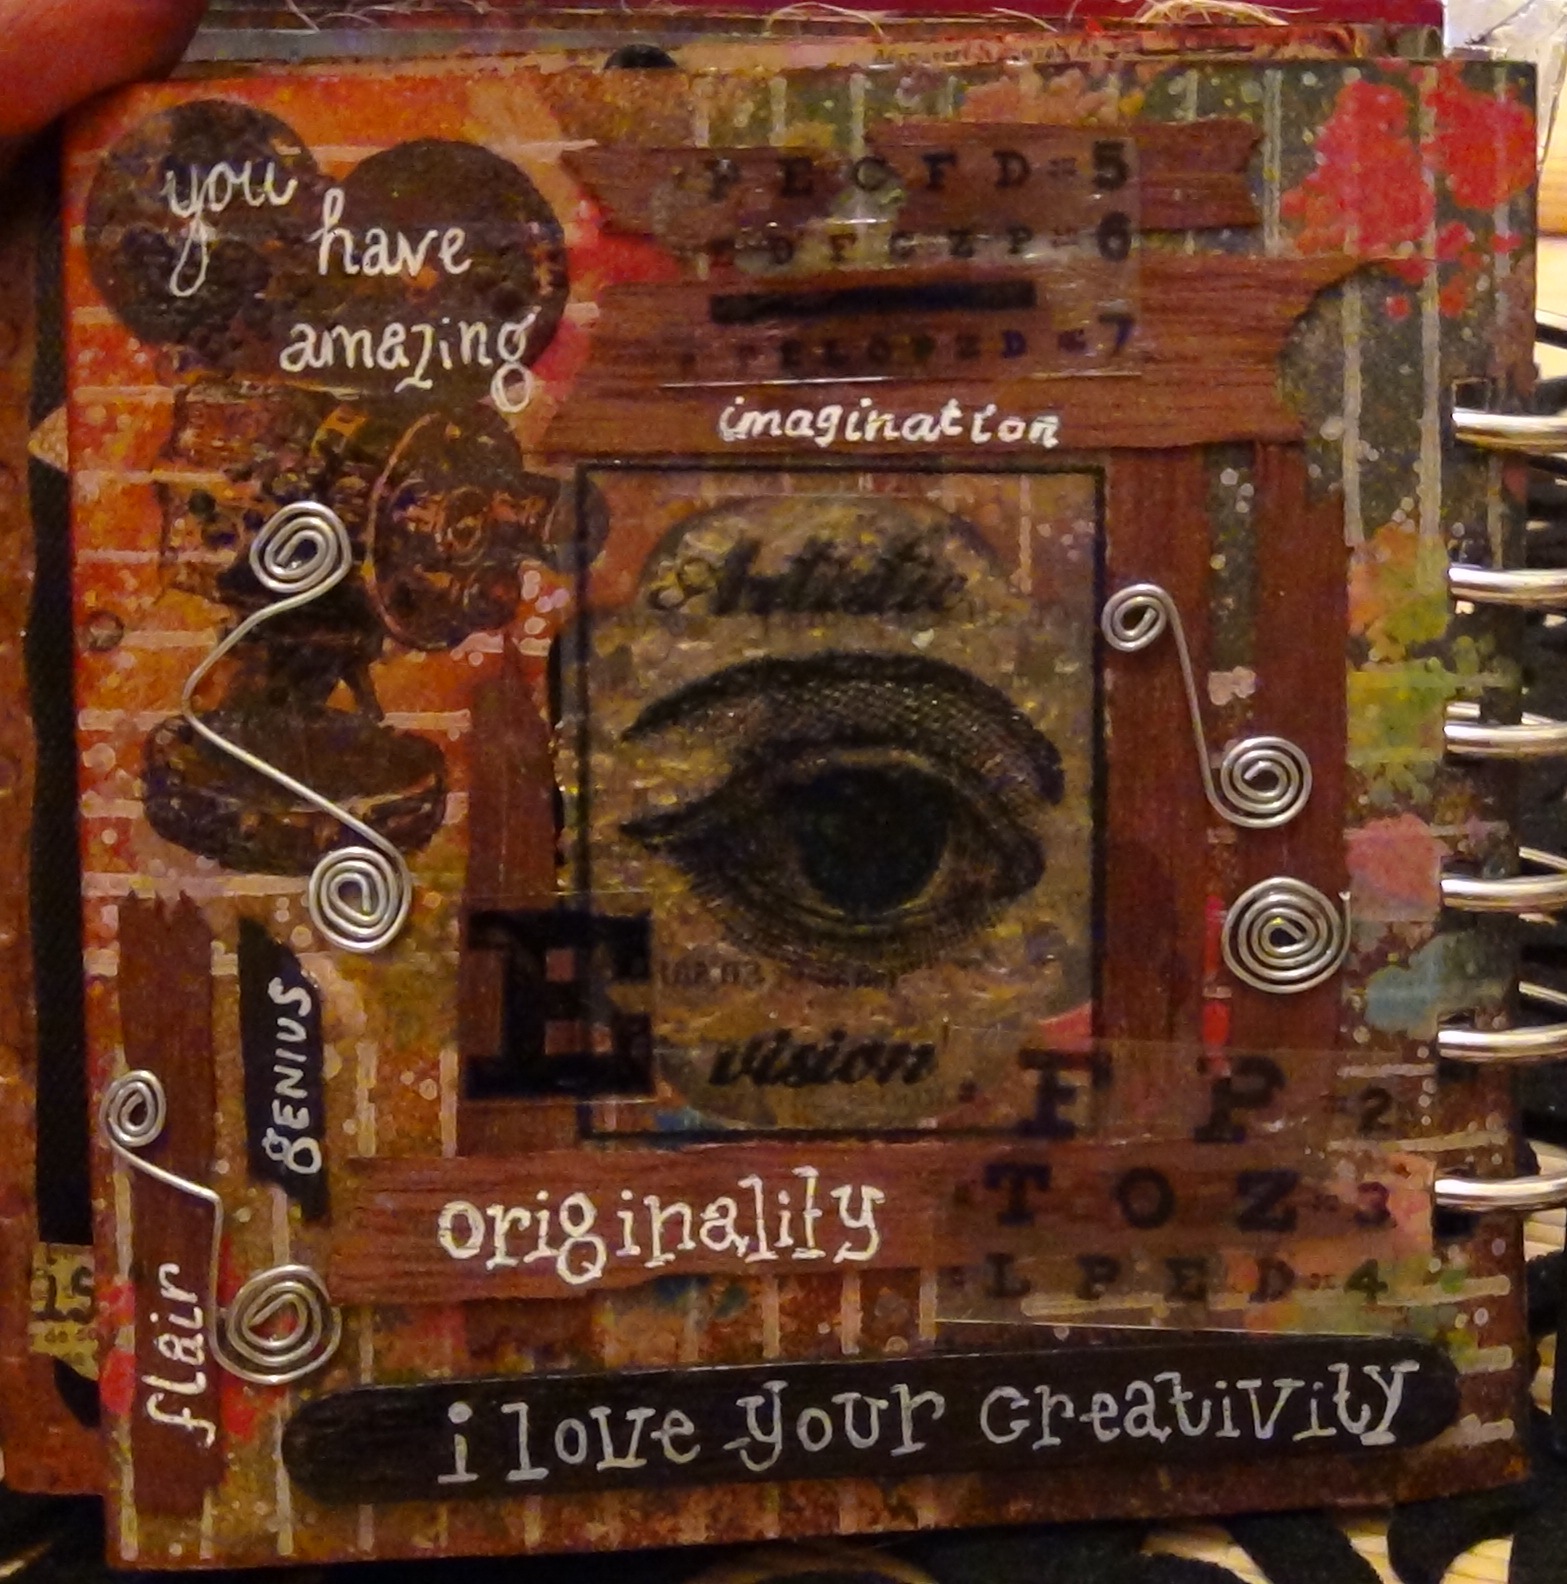
handmade peep-through li'l book
I have been wanting to post this for eons but just never got around to editing it into a post. Over the December Holidays I had uber loads of fun creating a handmade peep-through little book. It turned out great and I am itching to do another one soon -






 |
| glossy cracked heart done with Dala Crazy Cracks and then multiple layers of Dala Polyurethane Hard Varnish |


 |
| you can find my Youtube tutorial on how to make your own Bakers Twine in the next blog post |

 |
| Dala Metal Craft paint is my favourite Shiny paint |





 |
| chicken wire and dots stamp were stamps that I made myself (look out for upcoming tutorial on how to make your own stamps with air-dry clay |

 |
| Background inked with watered down Dala drawing ink |

 |
| I stamped the balloons in the background layer with permanent ink and then coloured them in Pencil crayons, I blended the pencil crayon detail with a brush dipped in baby oil - who knew.... |

 |
| If you ever wondered what you could do with Dala White drawing ink - its perfect for creating pastel hues and whitewashed effects |
 |
| I used Dala Acrylic Retarder to paint in the Lampost glass, sprinkled it with clear embossing powder and heat embossed it for a raised glassy effect |

 |
| Multiple layers of Dala Polyurethans Hard Varnish to get it all glossy |
 |
| Dala Stencil Glue and Dala Teddy glitter on "h-o-t" |
 |
| Hibiscus flowers made out out DIY Kraft Core - (using Dala Suncolour) embossed and sanded |
 |
| Dala Metal Craft paint adds a little pop of colour on the Aluminium foil back-cover |
Sunday, February 24, 2013
Faux Weathered Leather Effects with Dala
Those of you who watch my Youtube channel all know that I am the worlds biggest big Dala junkie. Last year some time in one of my youtube videos – I discussed my discovery of
 one of their coolest products called DALA Acrylic Retarder. In the video I showed you a card where I used it as an embossing gel for heat embossing onto a hand drawn image, and how I made. Recently I have been playing around with it a whole lot. I really do think that it is my favourite go-to sort of product if I need something to blend, bend or emboss with. One of the coolest things I have discovered is that you can create amazing aged or weathered leather effects by applying Acrylic Retarder to cardstock – it adds amazing slip and makes the paper more pliable and in doing so are able to create glorious texture.
Today I am going to post a short photo tutorial on how to recreate that effect.
For a plain piece of faux leather- you need the following things
- Cardstock (my preferences are White, Manila or Kraft Cardstock)
- Dala Acrylic Retarder
- 2 shades of Dala drawing ink (Eg Dark Brown and Sepia) in whatever colour you want your leather piece to be or you can also use Dala Suncolour in Sepia - Suncolour yields a more waxed or polished leather look
- a piece of blending foam (I most often use a plain cosmetic wedge foam or piece of Ranger’s Cut n Dry foamsheet, but I have also used regular foam like the ones that you wash dishes with)
- Dala Podge or Dala varnish (matt or gloss) – This is optional.
- Cut your cardstock down to the size you need.
- Dispense a blob of Dala Acrylic Retarder, onto your cardstock and massage it into the cardstock until it gets fairly saturated. Add more if needed.
- Flip the piece over and do the same on that side.

- Once you are satisfied with saturation, it shouldn’t be too wet – just enough so that it starts to absorb into the paper –
- Squish or wrinkle the piece into a wad. The wrinkling creates veins in the paper, like you would imagine an old piece of leather to have.
- The reason we added Acrylic Retarder to the cardstock, was to make it more pliable and less prone to the tearing that you get when you wrinkle dry cardstock and unwrinkle it out.
- straighten or flatten out the piece you have just wrinkled.

STEP THREE:
- Dispense a few drops of the darker Drawing Ink or Sun colour, mop up the drops with your piece of foam.
- Lightly buff the raised veins with the darker ink.
- you could also make some random areas of the piece of cardstock darker with the same ink

STEP FOUR:
- Apply some more Dala Acrylic Retarder to the cardstock (front side only this time) – this is going to give you more slip for the next shade of ink, plus it helps to stop you from accidentally rubbing off the top layer of paper fibre as happens when friction is applied to piece of wet paper.
- Dispense a few drops of the lighter ink into a container or craft sheet and mop this up with your blending applicator (I typically use the same foam as above)
- Work and blend the ink all over the cardstock until you have blended it to a point where the contrast is visible but well integrated. What you get is a lovely piece of faux leather. There will be some light and dark areas – just the way real old leather looks.
 STEP 5
 *edited to add - havent checked out the application of Crackle glaze and crack base on top of that but I reckon it would be even cool - after all crack is an addiction right?- This is an optional step, I think it gives it more finished look. Sponge or brush over a coat of Dala Podge, Varnish, or Matt/Gloss Medium.
- If you have an embossing machine, before you apply the Dala Podge, Varnish, or Matt/Gloss Medium, run it through your machine in your folder of choice. You can then apply the finish. Sandwiching the piece between a couple of pieces of chipboard,flattens the piece out so that you get the full effect of the veined texture without the rough wrinkled bumpy bits.
- At this stage you can either use the piece as a background or you can make an embellishment out of it.

Here below are some examples of things I have made with it. I have also used the same technique in different colours to create texture for “dried leaves”, flowers, butterfly wings etc. For the Balloon card - I used the same "leathering technique" but instead of using browns and sepia tones - I used blues and white to create a mottled texture - I also didnt squish the paper so much.


Tuesday, November 27, 2012
Amazing things Acrylic Retarder can do!
There are other things you can do with Acrylic Retarder - other than tasting it like me. I am still in the process of figuring out the comprehensive potential of this product (from Dala ofcourse) but in the video below you will see how I used it as an embossing fluid (WINNER WINNER WINNER) and to make paper look like leather - kinda....
I somehow never end up uisng Dala products for what they have been originally marketed for - this is either a testament to multi-functionality of the Dala collection of brilliant products or it is an indication of my rebellious character sliding into insanity.
I somehow never end up uisng Dala products for what they have been originally marketed for - this is either a testament to multi-functionality of the Dala collection of brilliant products or it is an indication of my rebellious character sliding into insanity.
Sunday, February 12, 2012
Homemade Kraft-core Core'dinations duped with DALA SUNCOLOR!!!

 I always say to folk who are distressed about inavailability of big American Brand names in little South African towns that you can create almost anything those brands do with my favourite South African brand of art and craft supplies - Dala. In the Video below - I show you how to dupe Ranger's Kraft-core cardstock with regular Kraft cardstock and Dala Suncolour.
 I like Suncolour because it leaves a waterproof plastic or wax-looking coated finish once dried. If you prefer a more matt finish you I suppose youcould also use Dala drawing ink.
*edited to add - I recently saw on the Dala catalogue that they have a product called Teddy Liquid Dye - I havent tried it yet, but I am confident we could make this work as well.
   |
| loved ripping off ends and glossing it up with varnish |
 |
| cut, punched and sanded |
This has saved me huge moola PLUS I can get it in any variety of colours that I want (cos SUNCOLOUR comes in a variety of colours and you can blend your own shade by merely mixing the variety of colours Dala offers). My Nikon is on the blink so unfortunately you will have to do with a few grainy, hazy webcam pix for now.
Subscribe to:
Posts (Atom)
Subscribe To


 Posts
All Comments
Posts
All Comments