Totally thrilled to be the Challenge Host for March over at Our Creative Corner.
The theme that I have chosen is:
JUNK IN YOUR TRUNK
So my challenge to you is to create something out of any kind of junk and re-fashion it either into something useful, functional or beautiful.
I am leaving the challenge open to your interpretation of what constitutes “Junk”.
It may mean a set of hideously patterned china that you want to smash up and a make a mosaic...
It may mean reams of patterned paper you have lying around that you turn into a collage masterpiece...
It may mean doing something with skeins of wool that you intended to make a a sweater with...
It may mean doing something with rusty keys,nuts and bolts and random pieces of wire that you pick up off the street...
It may mean using the strings on an old harp to make a cheese-cutter…
It may mean making a robot out of Aluminium Roof Flashing!!!
You can create whatever you want to, however you want to and with whatever you want to.
The only rules are that your project MUST contain something that you have reclaimed or recycled.
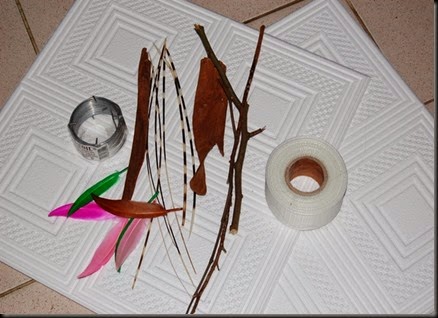
For the challenge I used some leftover polystyrene ceiling tiles, some garden junk and an old mask that had some curious elements to it
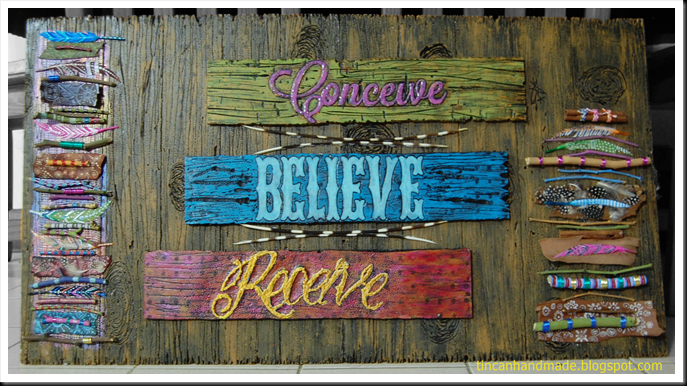
and made this awesome inspirational faux wood panel wall hanging. Actually I made it to hang over my ugly flatscreen tv that I almost never turn on.
Why dont you go create something beautiful from the Junk in Your Trunk? Share your project at the Junk in Your Trunk Challenge over at Our Creative Corner and you might be the crafter chosen to win some goodies from the sponsor for this month:
Now I bet you are wondering how on earth that ceiling tile turned into wood? Well I am about to show you some crafty magic.
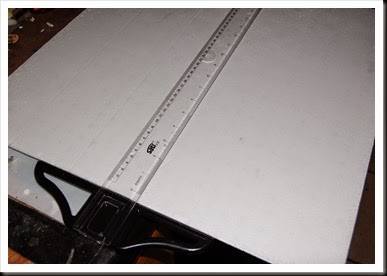
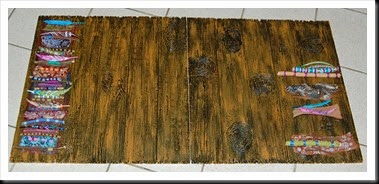
STEP ONE – Flip the tile over to the flat side and mark off “plank sized” panels with a rule or as in my case – a T-Square. Using a pencil or embossing tool, draw in the woodgrain effect and gnarly knots if you wish. I also drew in some gash marks for a really weathered effect
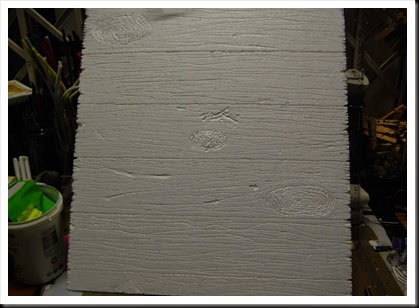
STEP TWO – This was the hardest, stinkiest and potentially toxically dangerous part. I used a soldering iron to melt in the grain and knots. WARNING – the fumes produced by burning polystyrene are toxic – either work outside or with a respirator and extraction fan indoors.
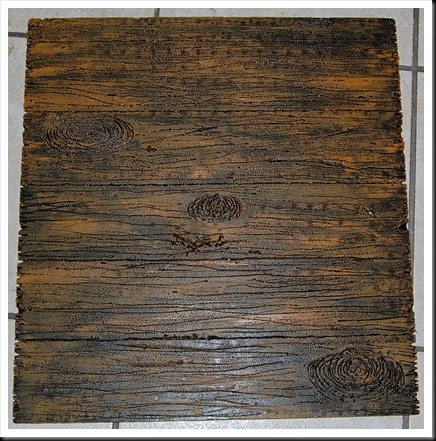
STEP THREE – Paint the whole debossed burned-in grains and knots tile in black first and then drybrush with brown and ochre acrylic paint. Dont use solvent paint because it will eat right through the polystyrene.
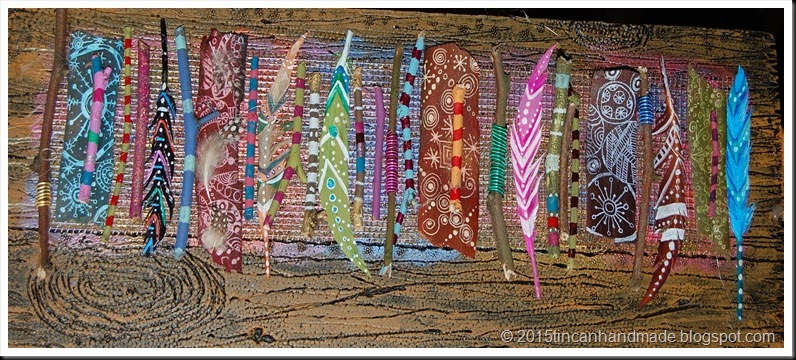
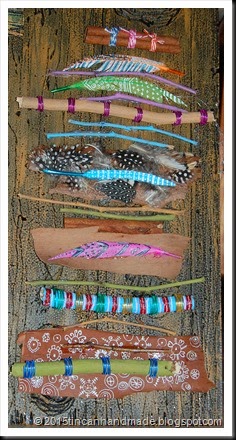
STEP FOUR – Paint your twigs, bark and feathers, Wrap wire around your twigs – stain the wire if you wish. Arrange your twigs, bark and feathers in the way you prefer
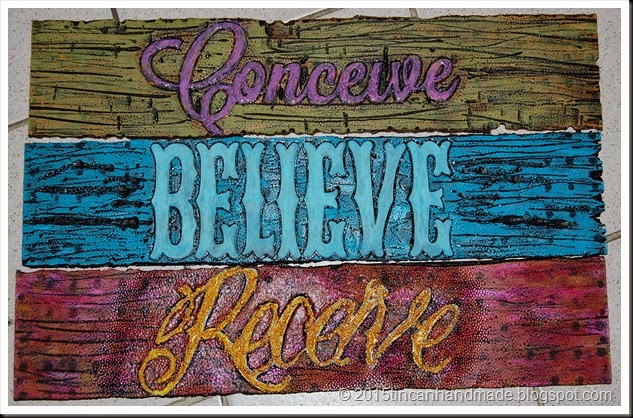
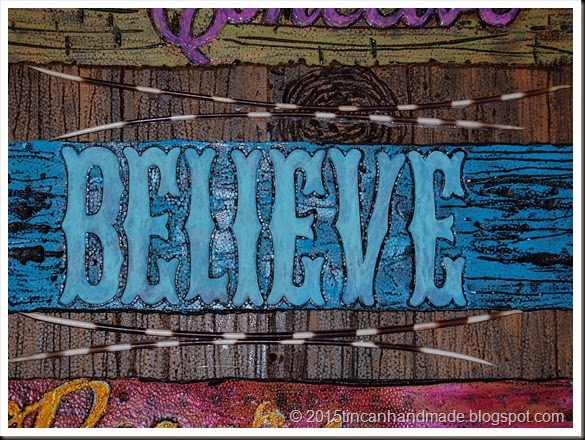
STEP FIVE – Cut/Carve the polystyrene tile into single planks and do some fancy lettering. The words were manipulated and designed in Make The Cut and cut out on my cutter/plotter. You could just do this by printing and fussy-cutting as well. I just glued them down on the “planks” and used 3D Gloss Super Heavy Gel and overcoated with Glossy Accents on the “Conceive”. I painted a chalky finish on the “Believe” and I used Dala White Puff Paint on the “Receive” which I puffed and then painted with Dala Craft Acrylic.
STEP FIVE – arrange pieces on faux wood panel and add the last twigs, quill and feather embellishments
STEP SIX – Now you’re good to go


